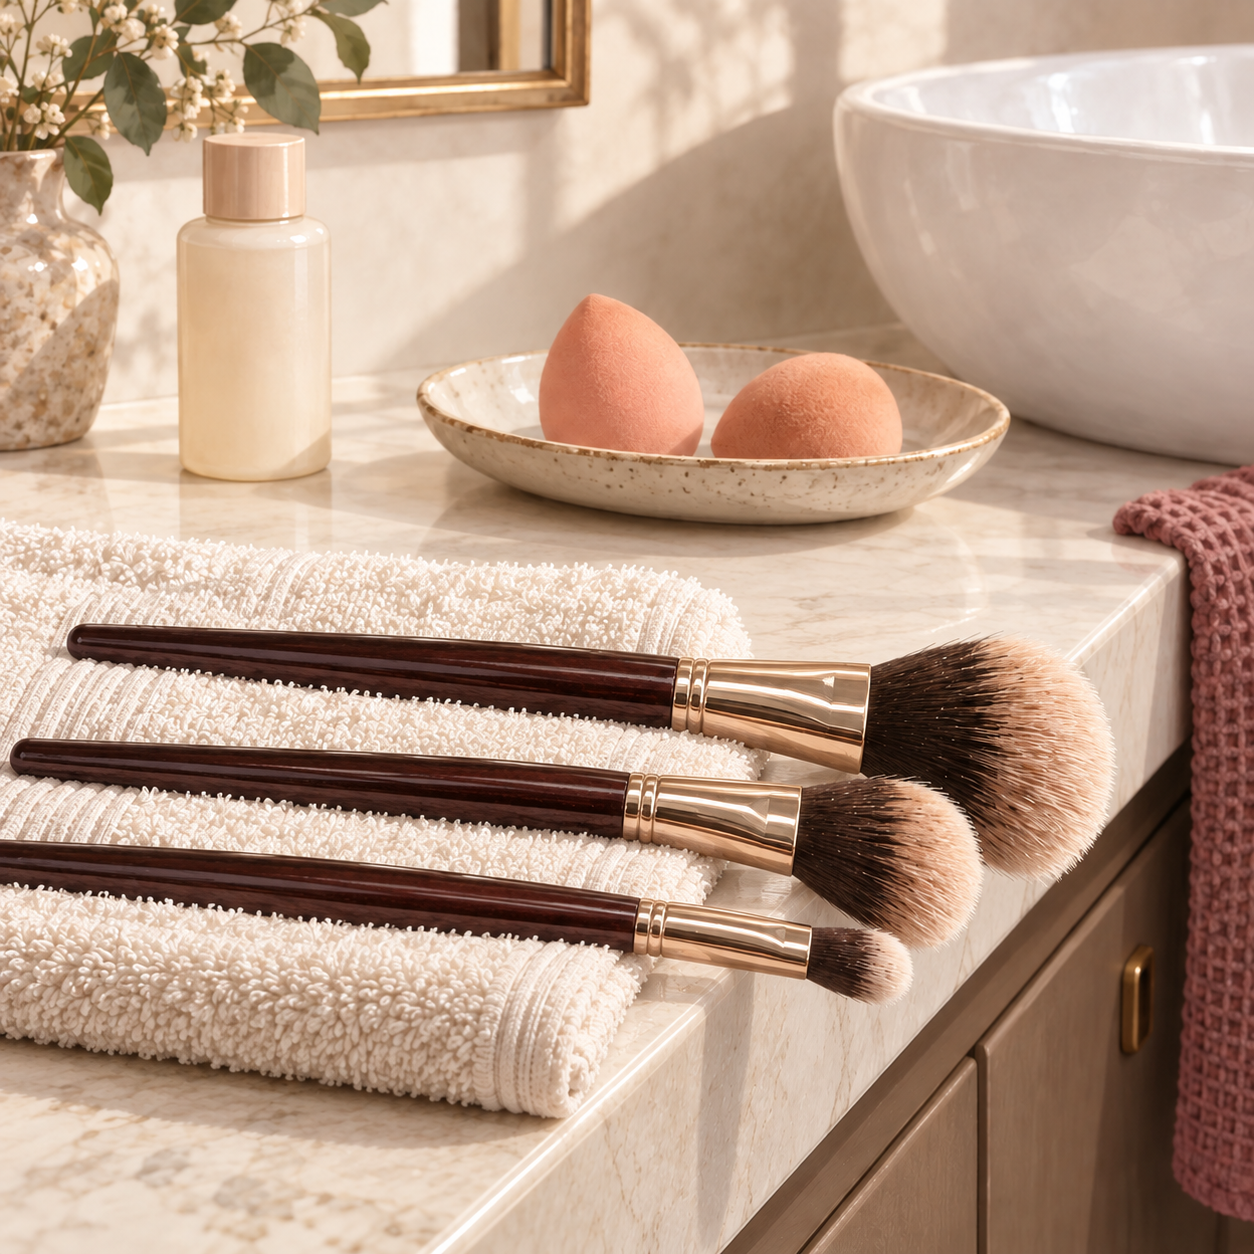
Prepare the tools you already use before adding anything to your shopping list. Check their care instructions, clean brushes and sponges using the appropriate method, and leave time for them to dry fully before closed storage. Drying time varies, so build in a buffer rather than assuming everything will be ready overnight.
Start with the tools needed for your planned look. Our guide to choosing tools for the routine you actually use can help you keep that selection small. This appointment with your washbasin is about preparing them, not expanding the kit.
Work backward from when you need them
Put the rehearsal, departure and event on the same plan. If you wash after a practice session, that wash needs its own drying buffer before packing. Decide where tools can stay undisturbed while you use the bathroom for other things.
Gather a clean towel, the appropriate cleanser, lukewarm water and an open drying area. Separate brushes from sponges so you can follow each product’s directions. Read both the tool’s care label and the cleanser instructions, including any guidance for natural bristles or specialist foam. A cleaning mat or gadget is optional.
Wash brushes gently, one at a time
Real Techniques’ brush-cleaning guide uses gentle cleaning, a downward rinse and careful moisture removal. Adapt the setup to your own brushes and their approved cleanser:
- Wet the bristles. Keep the brush pointing downward under lukewarm water. Avoid immersing the whole handle or leaving the metal collar and handle soaking in a bowl.
- Work in the cleanser gently. Use the amount and method on its label. Clean the bristles with light movements rather than grinding them against a surface or pulling them apart.
- Rinse with the bristles downward. Let the water carry the loosened makeup away. If residue remains, repeat the cleansing and rinsing as directed instead of adding a harsh household cleaner.
- Remove excess moisture carefully. Gently squeeze the bristles, then blot with the clean towel. Avoid twisting, yanking or aggressively rubbing the head.
Use fresh cleanser and water for the next brush rather than working it through the previous brush’s dirty mixture. Keep the cleaned tools separate from the ones still waiting to be washed.
For a hand-cleaning method, e.l.f.’s brush-care guide describes gentle swirling in your palm and a downward rinse. Let the bristle shape guide your pressure: you are releasing product, not scrubbing a kitchen pan. Do not substitute bleach, disinfectant sprays or improvised cleaning mixtures for the product’s care directions.
Give brushes a proper drying position
The American Academy of Dermatology recommends drying brushes flat on a towel with the tips extending over the counter edge. Arrange the handles securely on the surface so the brushes cannot roll off, leaving the bristles free of the towel.
Do not stand wet brushes upright in a cup. The AAD explains that water running toward the handle can loosen the glue connecting the head and handle. Choose a spot away from splashes, and keep space between the brush heads.
Drying is a separate stage, not a final wipe. Check the tools before closing them away. If they are still damp when you planned to pack, leave more time, pack them later or adjust the makeup plan around clean, dry tools you already have. Skip improvised hairdryer, radiator or microwave shortcuts.
Wash sponges by their own instructions
A foam sponge needs its own care method. Check the packaging for the exact sponge and choose a cleanser it allows. Do not assume a brush-cleaning product is also suitable for every sponge.
For example, the sponge-care section of Real Techniques’ Everyday Essentials page describes adding water and sponge cleanser, squeezing gently to lather, rinsing and air-drying thoroughly in a well-ventilated area. Follow your purchased sponge’s directions for amounts, cleaning frequency and replacement guidance.
Squeeze gently rather than twisting the foam or digging in with your nails. Rinse out the cleanser as directed, remove excess water carefully and leave the sponge in an open, clean place with air around it. Do not sandwich it between damp towels or tuck it into a zipped pouch to finish drying.
Inspect before you pack
Check for a loose brush head, persistent shedding or foam that is tearing or breaking down. Set damaged tools aside and decide what actually needs replacing. A stain alone does not establish that a sponge is dangerous; assess its condition alongside the manufacturer’s instructions.
As an Amazon Associate I earn from qualifying purchases. This is a researched selection, not a hands-on product test.
Cleaning your tools does not require a new set. If several are worn or damaged, compare the Real Techniques Everyday Essentials selection in The Belle Edit with individual replacements. The linked six-piece selection contains four brushes and two sponges, not cleanser or a drying rack.
Check the Real Techniques set contents on Amazon · paid link
Three quick answers
Can wet tools go straight into a makeup bag? No. Let them dry completely before closed storage.
Do brushes and sponges have identical instructions? No. Follow the directions for each tool and its cleanser.
Do I need a new set for every event? No. Maintain usable tools and replace only what needs attention.
Traveling? Once everything is dry, use our guide to packing makeup for a wedding weekend to plan what goes in the bag.